
Step 1 - Layout
Start by laying out the general outline of the bed you want to protect. A string trimmer can make easy work of this and let's you see what the shape of the bed is going to look like. Roots and large rocks may have to be removed prior to installing the sections.
Tip! Try to keep curves gentle for the best look.
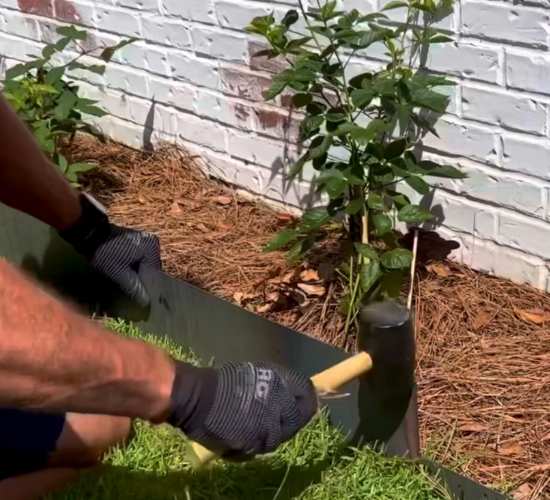
Step 2 - Hammer In Place
Wearing heavy duty gloves, use a rubber mallet to hammer the sections into the ground. Simply hammer along the top edge of the section end to end until the section is at the heigh you are looking for.
Tip! Use a piece of wood to help absorb some of the spring back you might get depending on the density of the mallet you are using.
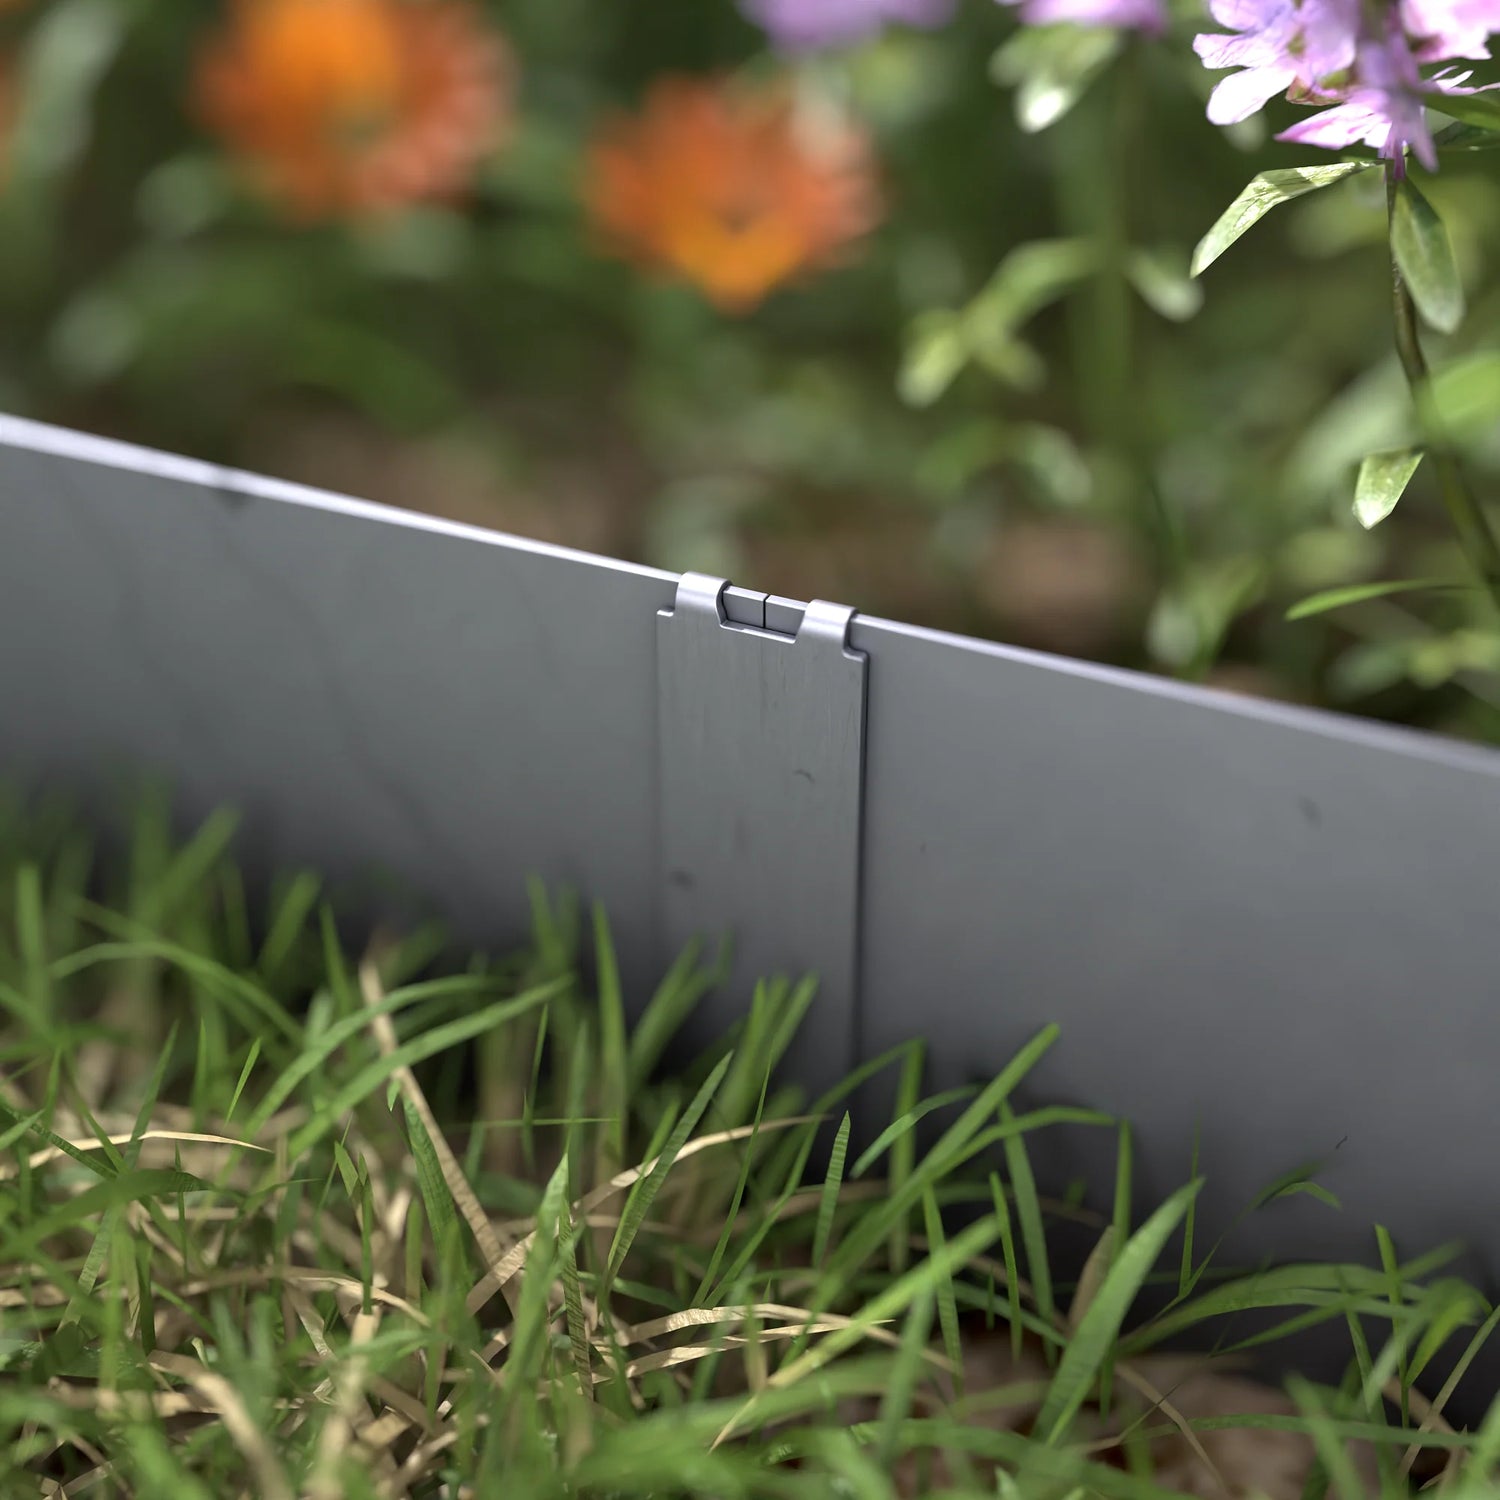
Step 3 - Install Locking Connector
The locking connectors ship flat. To use, simply fold the two ends together and place over the two sections you want to join. Hammer in place ensuring the edges lock together. A corner connector is also included in the kit and shipped flat. To use, fold in half then bend the folded part to achieve the angle you want.
Tip! You can bend the corner connector to any angle you choose!